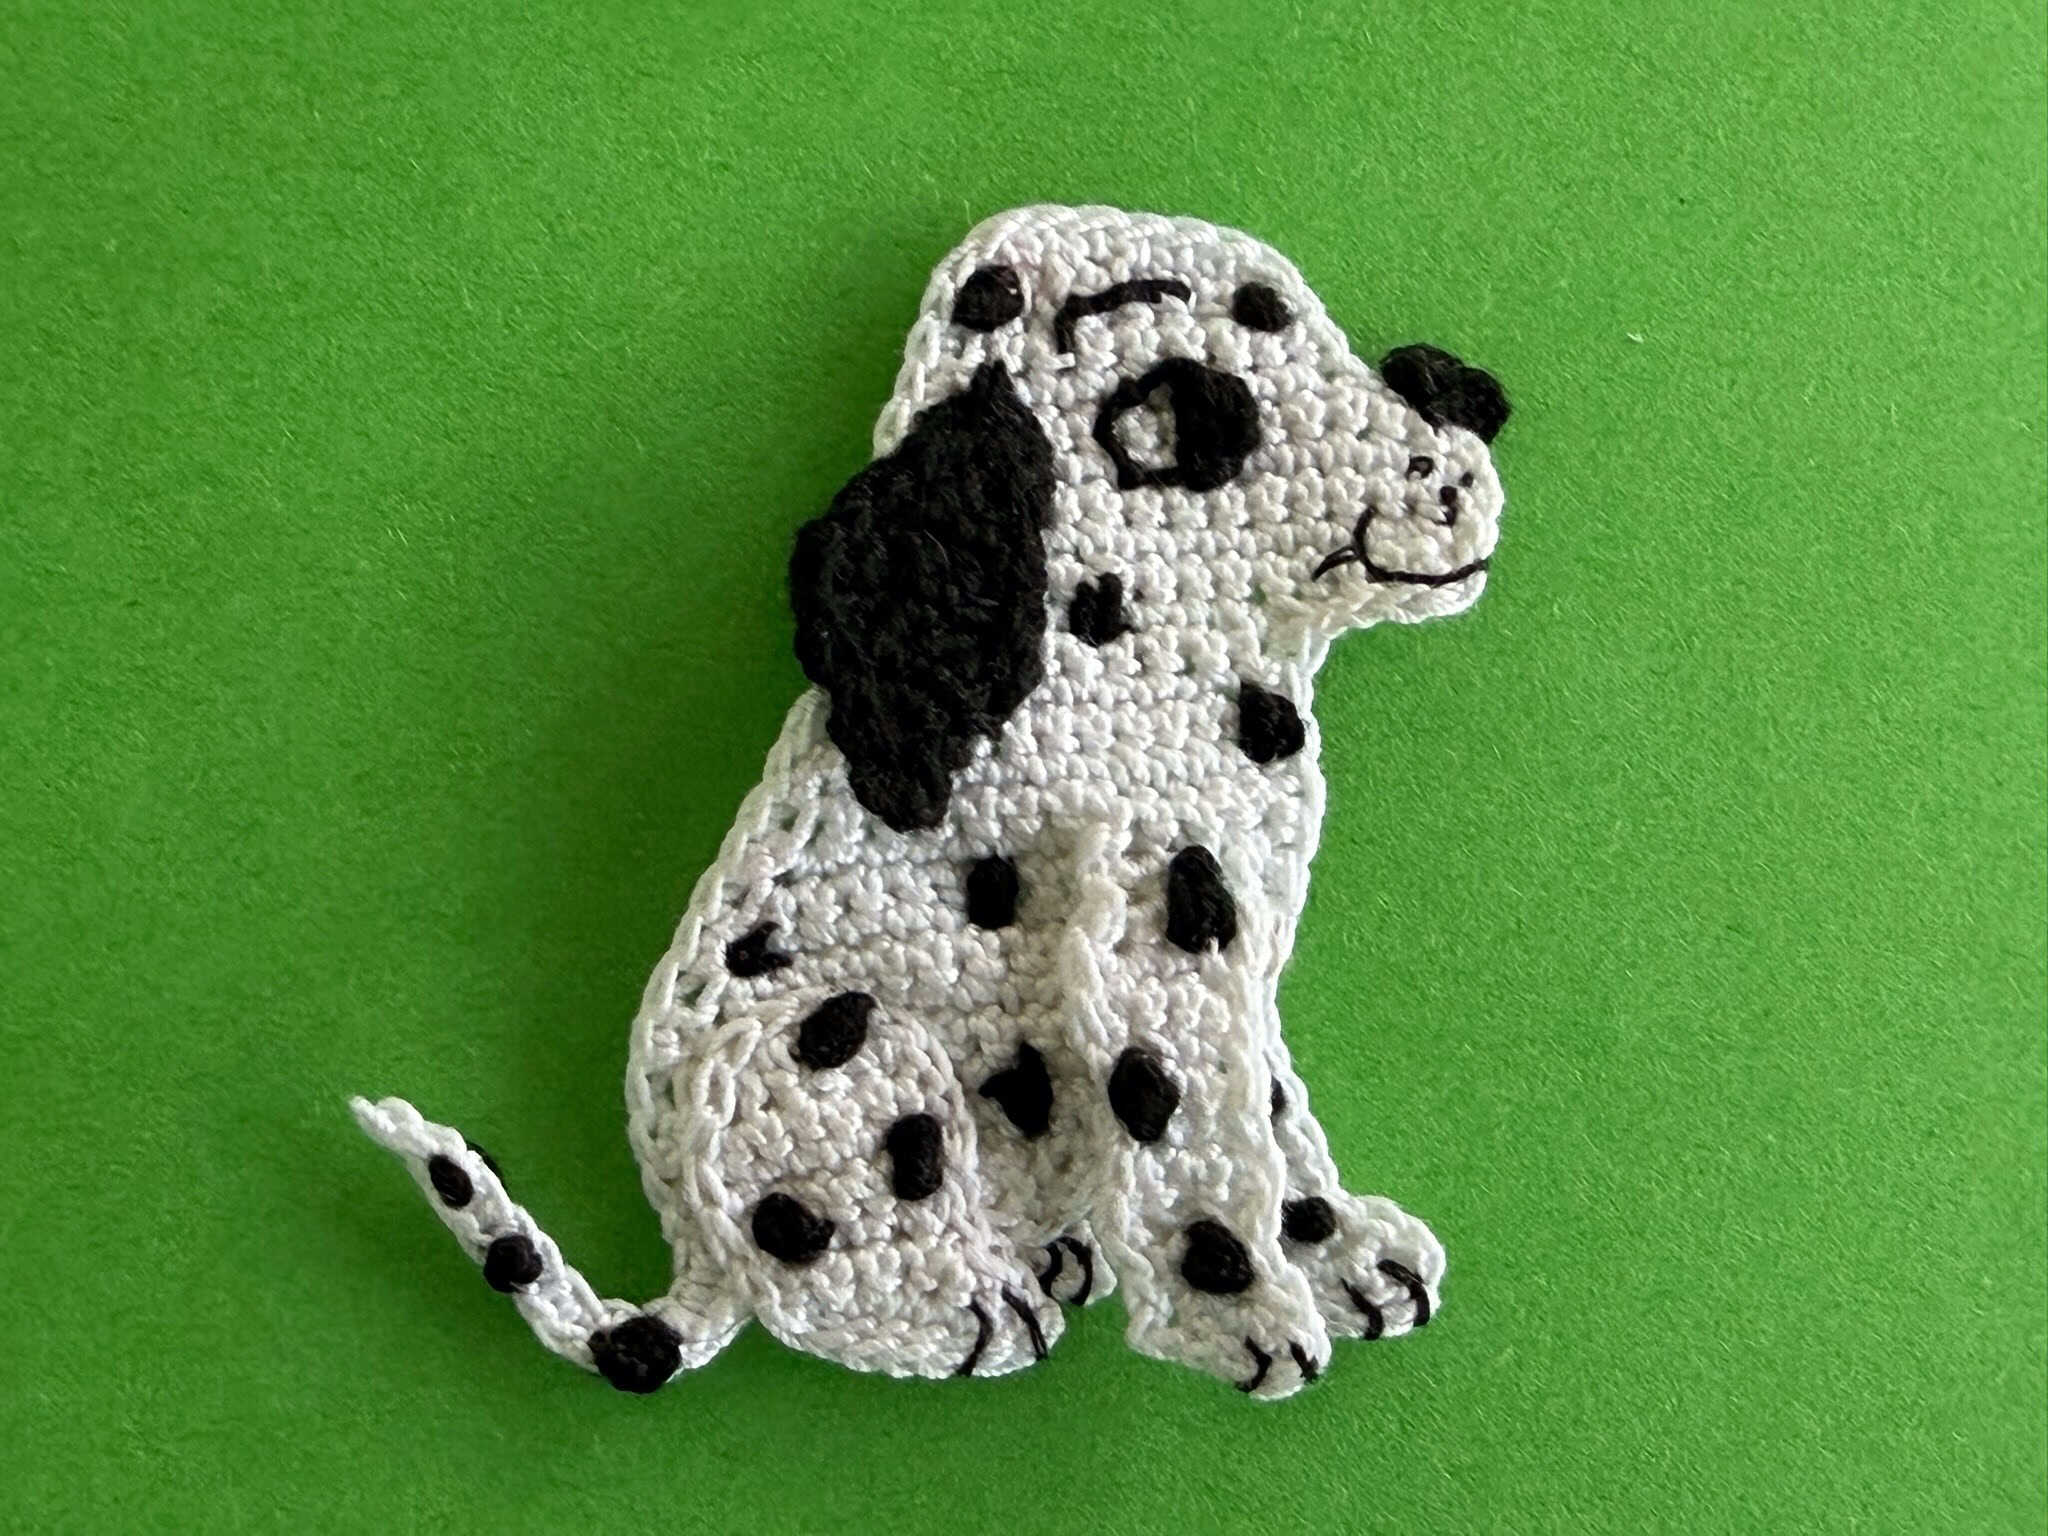
Today I will be continuing the train series with a crochet tiger face pattern that can go on one of the carriages. Here is what the finished Tiger is going to look like.

There is also an accompanying how-to video tutorial available at How to crochet a Tiger (Train series Part 4).
To view the full pattern continue to scroll down this page. If you would like to download the pattern in PDF format it’s available on my Ravelry store at Crochet Tiger Face Pattern. You can buy it individually for $1 or the complete set of nine patterns for $5.
This post will have the UK terminology, for the US version go to Crochet pattern for Tiger appliqué (US version).
If you would like to go back to the start of the series have a look at my crochet train.

Crochet Tiger Face Pattern
Abbreviations
- st – stitch
- sts – stitches
- ch – chain
- sl st – slip stitch
- dc – double crochet
- htr – half treble crochet
- tr – treble crochet
- dtr – double treble crochet
Materials Used
- Small amounts of desired colours of cotton or wool, I used orange, black, white and cream.
- Crochet hook, I used a 1.25mm hook.
- Sewing thread to stitch the tiger together.
- Sewing needle.
- Black sewing or embroidery cotton to embroider on the nose and mouth.
- A darning needle to weave in the ends.
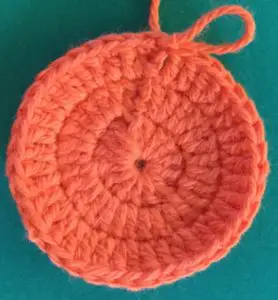
Head
Make a magic loop.
Row 1: 3 ch. Work 14 tr into loop and pull circle tight. Join with a sl st into 3rd ch.
Row 2: 3 ch. Work 2 tr into each st. Join with a sl st in 3rd ch.
Row 3: 3 ch. (Work 1 tr in each of next 2 sts and 2 tr in following st) repeat to end, sl st in 3rd ch. Don’t fasten off.
Ears
Use the cotton from the body.
Work 1ch, 1 htr in same st as ch, 1 tr and 1 dtr in next st, 1 dtr in following st, 1 tr and 1 htr in next st, sl st in each of next 7 sts, into next st work 1 htr and 1 tr, work 1 dtr in following st, 1 dtr in next st, 1 tr and 1 htr in following st. Sl st in next st. Fasten off.

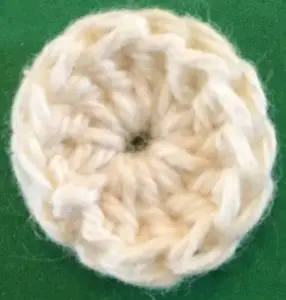
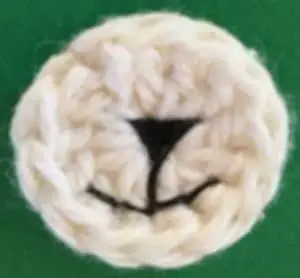
Muzzle
Make a magic loop.
Row 1: 3 ch. Work 12 tr into loop and pull circle tight. Sl st into 3rd ch. Fasten off.
Eyes (Make 2)
Make a magic loop.
Row 1: 1 ch, work 3 dc into loop and pull circle tight. Sl st into ch. Fasten off.

Black Markings
Make 2. 6 ch. Fasten off. Leave enough thread to sew in place.
Make 2. 5 ch. Fasten off. Leave enough thread to sew in place.
Make 2. 4 ch. Fasten off. Leave enough thread to sew in place.
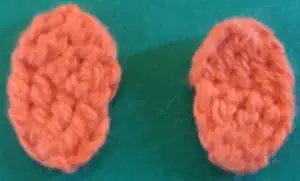
Paws (If needed) (Make 2)
Make a magic loop.
Row 1: 4 ch, 4 dtr in loop, pull circle tight but don’t join. Turn.
Row 2: 4 ch, work a 4 dtr cluster across the 4 sts. Fasten off.
To Make Up
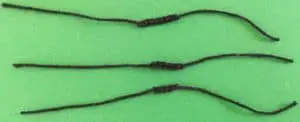
Weave in ends. Embroider nose and mouth on muzzle and a black dot in middle of each eye.
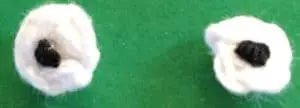
Attach muzzle and then attach the eyes just above the muzzle.
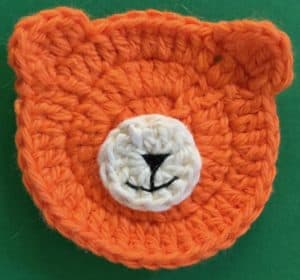
Attach the markings to the sides of the muzzle with the 6 ch pieces at the top, then the 5 ch and the 4 ch.
And here’s the crochet tiger face attached to a train carriage.

Join me next time when I will be doing a crochet lion face, if you like the pattern and have used it let me know how it goes in the comments section.